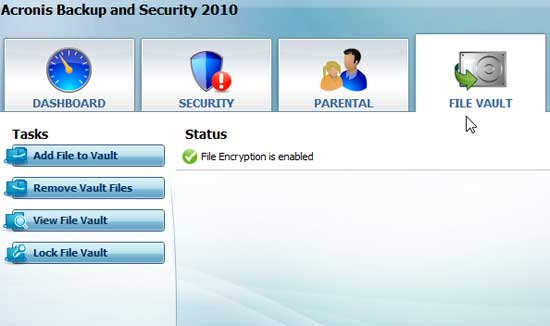
From the File Vault console, you can add and remove, view or lock files in a secure location. This review of the Acronis File Vault will show you how to do all of the above.
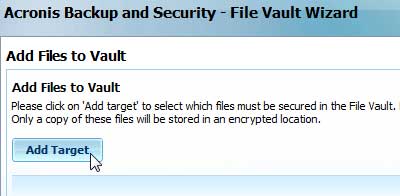
Clicking on the Add to File Vault button brings you to the File Vault Wizard. This is where you can click on the Add Target button to select which files to secure. The files will not be moved or deleted from your hard drive. It only secures a copy of the files in an encrypted location.
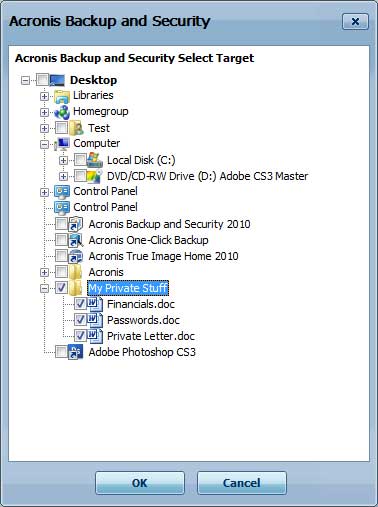
I chose to lock up a folder located on My Desktop called My Private Stuff and clicked OK.
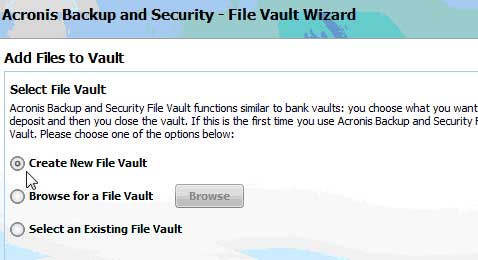
Clicking Next on the following screen brought up the option to select a File Vault or create a new one. If this is the first time using the Acronis Backup and Security file encryption utility, you will need to create a new vault.
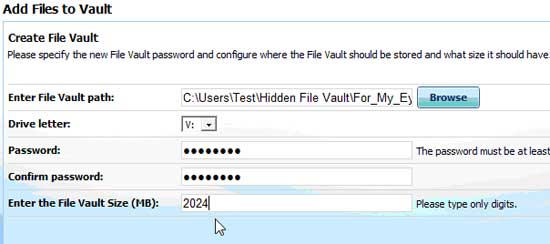
The next step allows you to name the vault, give it a drive letter, set a password and enter the size of the vault.
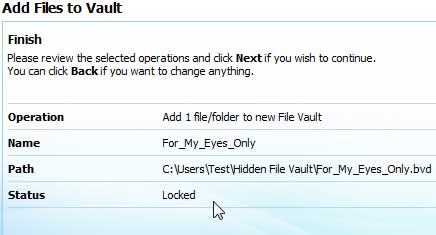
The next screen showed a quick summary of the operations it was going to perform. It looked good to me so I smacked the next button to see what would happen next.
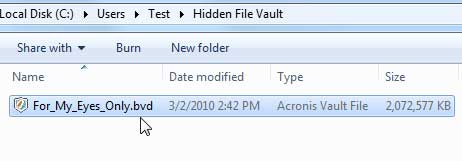
When it was finished, it told me so. I browsed out to the path that I had specified earlier and low and behold there was a new file created called For My Eyes Only.bvd.
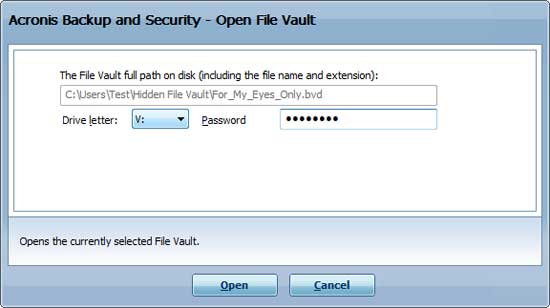
Clicking on the Vault file brought up the following screen allowing me to choose the drive letter and password that I had specified earlier. If somebody else were to try to open this vault without knowing the drive and password, there is no way that the hidden files can be accessed; not gonna happen.
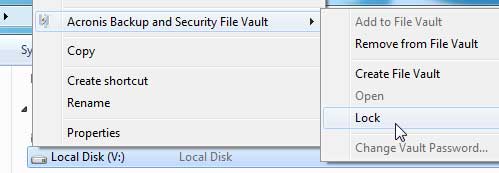
As you can see, there is now a new drive with the letter “V” where you can easily view your hidden files and folders that are stored in the encrypted vault. It is just as easy to lock it back up too.
Acronis is dedicated to protecting your data from internal and external threats. As this review demonstrates, the File Vault protects your sensitive files from internal prying eyes. The File Vault is part of the Acronis Internet Security Suite, which is included in Acronis Backup and Recovery.
 |
